

We made three 10' round cakes and three 8 1/2' round cakes. We froze them over night so they are easier to dirty ice and cut out a piece of cardboard both at 10" round and 8 1/2" round.
Then we leveled off the tops of the cakes.


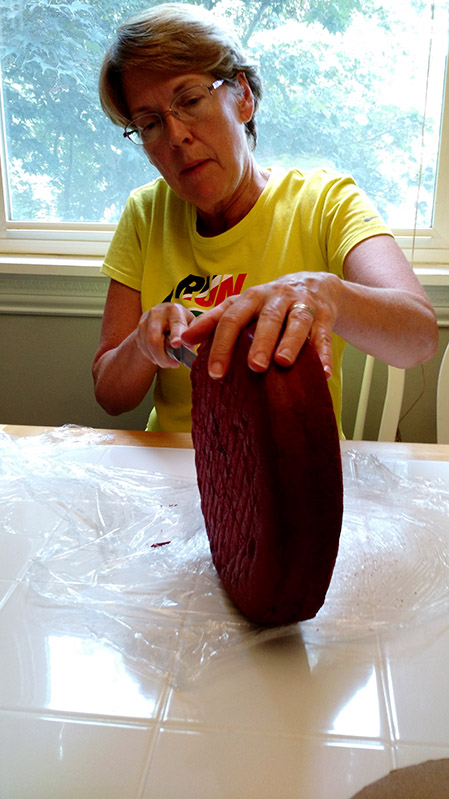
The fondant master at work!

Soooo beautiful. After all this time we still forget to leave an extra 1/2 inch when cutting around the edge to allow for a bit of shrinkage. Now that I've written it down we should remember ;)

Then we took some Wiltons food coloring (it's very thick and more of a paste) and started to water it down a bit to get the right consistency to paint on the cake. This was our first time painting on a cake so we were really just going by feel!

To get the lines around the cake there is a very fancy tool you can use, but since I didn't have one I cut up a few pieces of the cake boxes like pictured above to get the look we wanted.


Then I painted on some spots, trying to harness my inner tree!

While I did that Mom painted the top of the cake to look like wood and I added a black line around the outside edge to really crisp it up.

Repeat the same process for the top layer.


Time to add the top!!


For the top of the cake we made some fondant mushrooms and a teepee. We also added a racoon and a fox which I had made out of clay previously. For things like the animals I find fondant doesn't always stick and sit just right and it makes me nervous to have things not work the day of the party. Clay while not edible gives you that same look, without all of the risk. Then we added some chocolate rocks for the camp fire.


3 comments:
So cute! What a cool idea!!!
Love this cake and this birthday boy!
Stephanie Your cakes are marvellous. I applaud you 👏 👏 👏
Post a Comment