Every month a good friend Mare Nielson hosts a craft night for the ladies in our ward. I love being able to get together with these ladies and laugh as we share our creative abilities. We always have a ball and this months craft night was no exception.
 Fall is slowly creeping it's way into Vegas and let's just say I am thrilled!! Don't get me wrong I love the heat and sunshine; I'm just excited for Mom Tobler's chicken noodle soup, fall colours (in the mountains of course because nothing changes in Vegas), and Halloween decorations. I took a stroll through the Halloween section at Michael's and I couldn't stop smiling. In light of the up and coming fall season Mare determined that we should make some sort of Halloween decoration. We all know how I adore Halloween! The original link came from
  Crazy Domestic. L-O-V-E it!
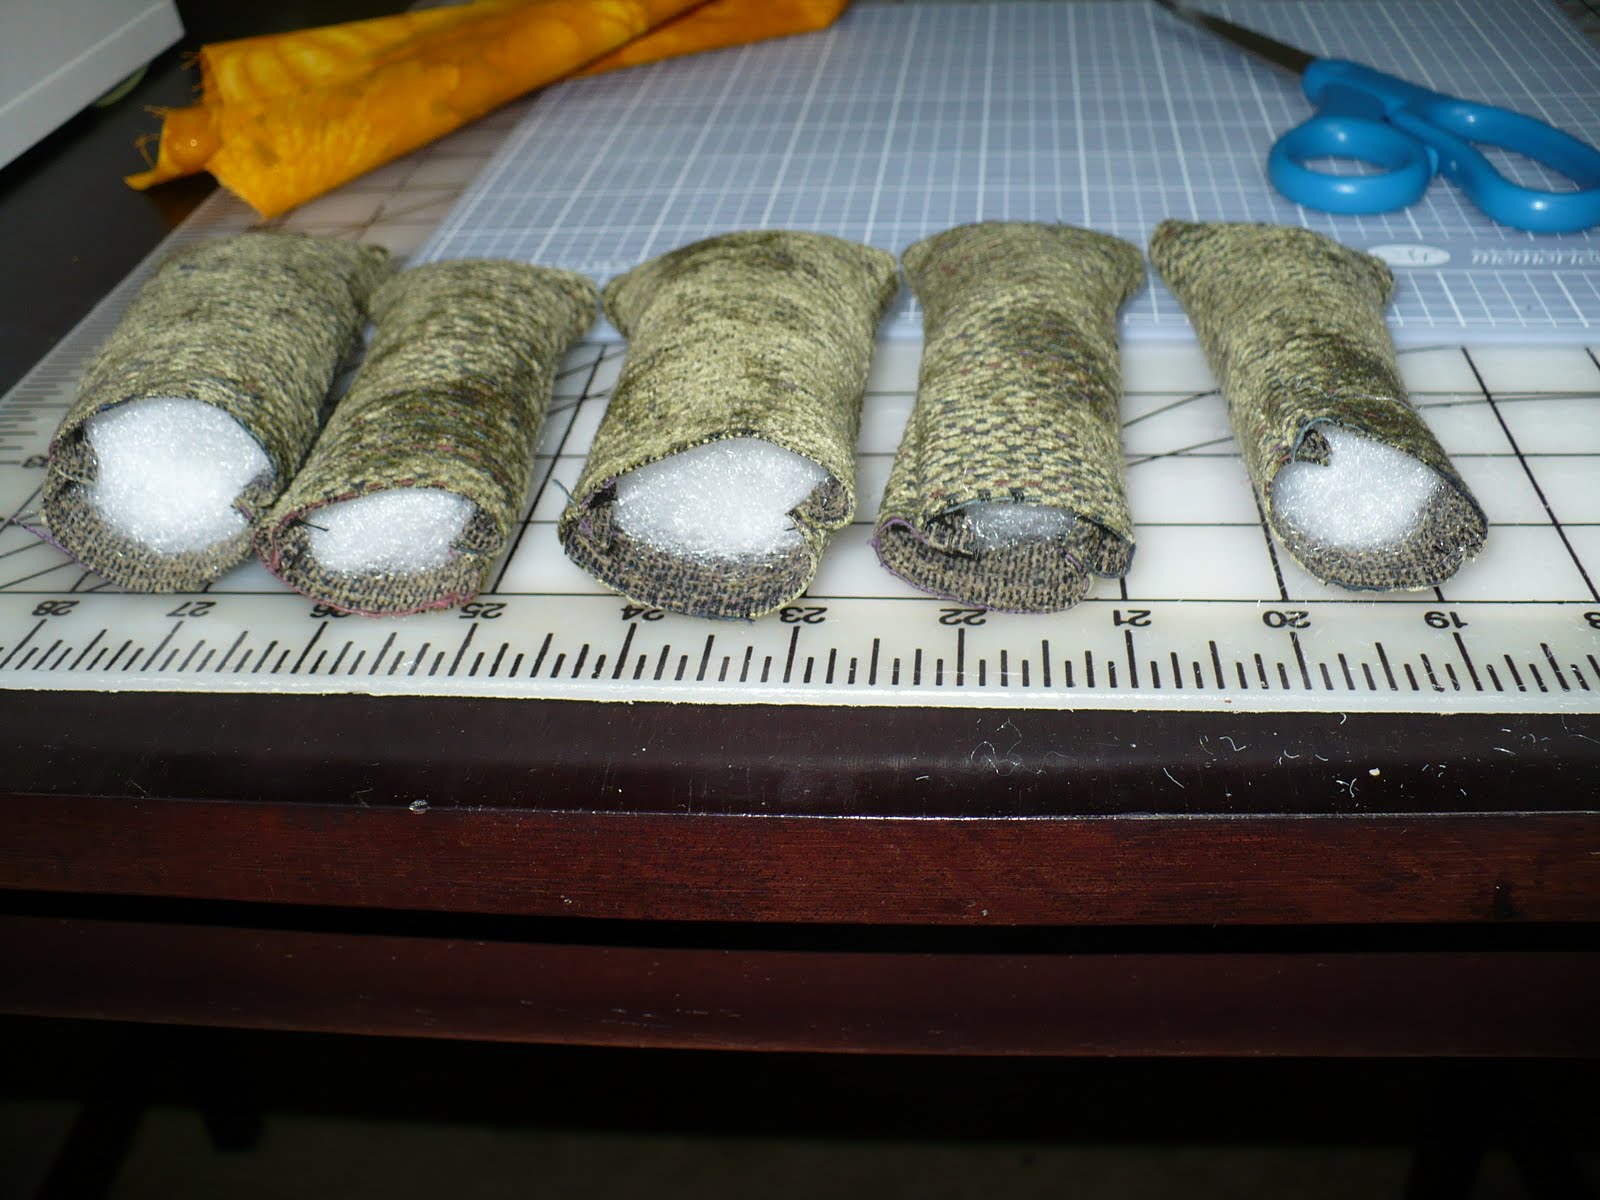
 Mare was kind enough to pick up some jars for me and I raided my cupboards for left over mason jars. Different sizes and shapes totally makes the difference with this project! Add some tissue paper and a whole lot of modge podge and your on your way!
 This is Abby, who claims to have zero artistic abilities. I did make her paint her own faces on her jars and I think they turned out rather cute, even if they do have baby teeth. :) I was laughing so hard as she painted I cried.
 Did I mention that Mare can bake and her husband Tyler is a culinary art student? AKA there are always delicious gourmet goodies at their home. These cupcakes were super yummy. I loved the frosting!!! Plus, did you notice the different colored batter? So cute!
 Voila, my final product! Well almost... since we are moving I didn't add the bolts to Mr. Franks head for fear they'd get knocked off in the move. I'm also going o add some green raffia to the top of my pumpkin. I am very pleased with the result and even more pleased to have finally created something! My hands feel so idle and crocheting baby hats simply doesn't fill that creative void. I am so thankful for fabulous friends who host evenings such as these and the memories we create in the process.
 Fall is slowly creeping it's way into Vegas and let's just say I am thrilled!! Don't get me wrong I love the heat and sunshine; I'm just excited for Mom Tobler's chicken noodle soup, fall colours (in the mountains of course because nothing changes in Vegas), and Halloween decorations. I took a stroll through the Halloween section at Michael's and I couldn't stop smiling. In light of the up and coming fall season Mare determined that we should make some sort of Halloween decoration. We all know how I adore Halloween! The original link came from
  Mare was kind enough to pick up some jars for me and I raided my cupboards for left over mason jars. Different sizes and shapes totally makes the difference with this project! Add some tissue paper and a whole lot of modge podge and your on your way!
 This is Abby, who claims to have zero artistic abilities. I did make her paint her own faces on her jars and I think they turned out rather cute, even if they do have baby teeth. :) I was laughing so hard as she painted I cried.
 Did I mention that Mare can bake and her husband Tyler is a culinary art student? AKA there are always delicious gourmet goodies at their home. These cupcakes were super yummy. I loved the frosting!!! Plus, did you notice the different colored batter? So cute!
 Voila, my final product! Well almost... since we are moving I didn't add the bolts to Mr. Franks head for fear they'd get knocked off in the move. I'm also going o add some green raffia to the top of my pumpkin. I am very pleased with the result and even more pleased to have finally created something! My hands feel so idle and crocheting baby hats simply doesn't fill that creative void. I am so thankful for fabulous friends who host evenings such as these and the memories we create in the process.