Duke turned three in August but with the move on the 10th and all of the packing and craziness that goes along with moving we decided to hold off on his birthday party until September when we had settled in a bit. Plus we sort of made it a house warming event as well. I'm so glad we decided to go this route, it was a great way to kick off the memories that will be made in our new home!

At the front door I put out some head bands. These were super simple but INSANELY time consuming to make. I cut them all out in one go which made things a bit simpler. So many little pieces. We had just shy of 20 kids show up but I made up 20 head bands which each took about a hour to rock out start to finish. Like I said, time consuming but each head band cost $1 and who could argue with that price?


This guy is my personal favorite.

Next to the head bands we had a picture of the birthday boy and his little fox. I also typed up an eye spy game.

I love having an I Spy game, especailly for the older kiddo who can read. It is easy to type up, and they can do it on their own. That is a win win in my book!

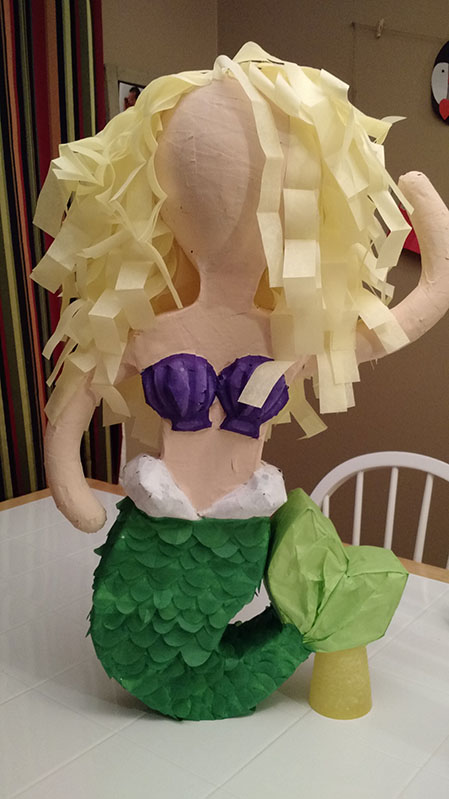
The super cute fox pinata. (Click here for creative process.)


I set up the very wrinkled diy teepee in the living room. (Creative process here.) We put the little sheep rug inside and the big fox.

I knew I wanted a camp fire all set up but I wasn't sure if I was going to make it out of wood, streamers? a table cloth and fan with Christmas lights? So many cute options so I headed to Pinterest for some pinspiration. That's when I stumbled on this fire. Only it was $44 and there was NO way I was spending that much when I knew I could make it. So $5 worth of felt later... voila! It turned out super cute.

The whole reason for making this chalkboard was so that I could write this on it for the party!

The food table with the cake. I knew I wanted to have some wooden logs on the table. And while this picture doens't do them justice they really made a huge difference! They were a pain in the butt to get/ cut but for the price of free, they were TOTALLY worth it!! We used some brown packing paper as a table cloth/ runner. I also loved how perfectly that striped wall in the new house went along with the theme!

Food time!


Then we went on a bear hunt. The kids had to go around the tree....

... through the river...

...through the tall grass...

...over the hill...

... shoot through the hoop... (these DIY bows and arrows were a huge hit!!)


... into a cave (which was a large wardrobe box, not pictured.)...

and then they took pop guns and shot their bears! Such a fun favor for the kiddos. I got them all at the thrift store, tossed them in the wash with some ammonia and they looked fabulous! the kids were super excited to have their own little bear.

Then it was time for some magic cupcake!


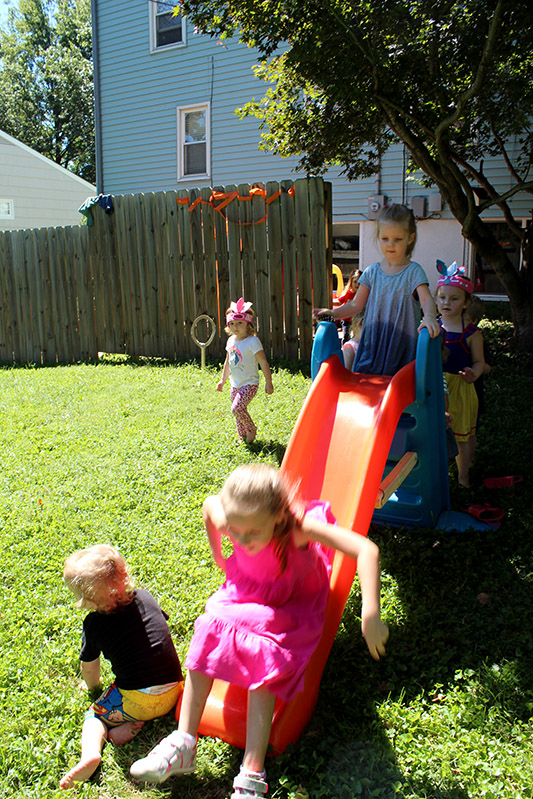
Pinata time!! Get it little man!


And cake time!!!!! I could stare at this cake forever! That lit campfire is the bomb-diggity!

Happy Birthday to You!!!

Part of the crew!

Our little family!

Present time! He was over the moon! Thank you friends!!!!!!!

We are so in love with this sweet little boy. This was a pretty low key party but we had a great time! Thank you to everyone who came and a special thank you to Mom Tobler who stayed to help with the party, the cake, and made all the food!!! I don't know what I would do without you! Happy birthday Duke! You deserve the world! Run wild, my child. You are loved!