
For starters I didn't take many step by step pictures because I followed this blog step by step. It is amazing she includes all of the measurements, and instructions for the cake, base and where she got her supplies. AMAZING tutorial!!!

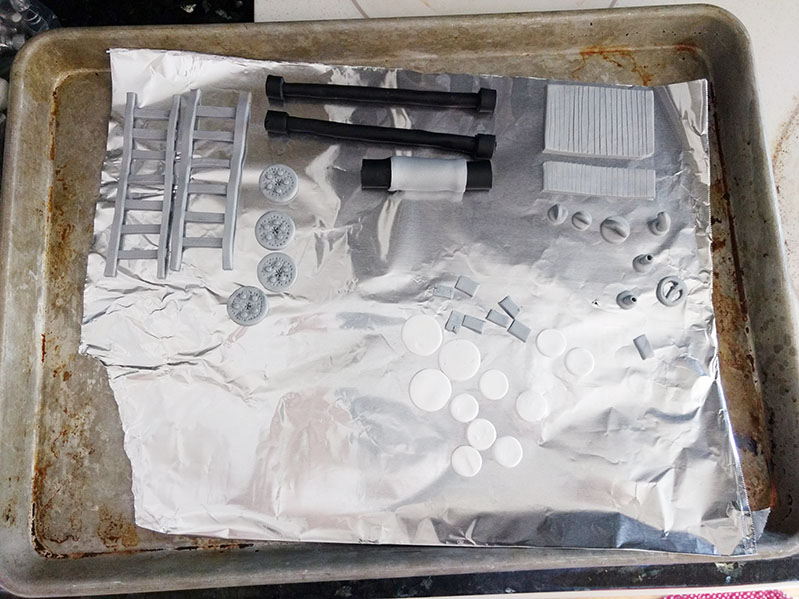
I started off by making my accessories with modeling clay. I do not like surprises the day of making the cake and since this cake is the very first one that I have attempted to accomplish completely solo, I wanted to have my bases covered.

The cake base had me a bit nervous. It was really simple to pull together, but I would have used a thinner board for the elevated layer. I just used what I had on hand but I feel the 1" board was too thick. I would have also sprayed the elevated board silver.


Cardboard base cut.


Wrapped in foil.
Okay here we go! I can do this!!


The cake eater.

Alright lets pause right here. in the tutorial she said that she used two jelly cake pans and pieced together a bit. There was quite a bit f piecing that was involved so if you are making this truck entirely out of cake I would suggest making three pans. Also, if I were making this again I would make the front out of Rice Krispies. We have 20 people for this party and we barely ate half of the back of the cake. The Krispies would have kept the shape much better!! Also, DO NOT cut the slope in the front as dramatically as I did. If I were doing this again, I would leave the front completely flat (Like a real fire truck). Chilling one half of the cake while I worked on the other half of the cake was a huge help!

Not that I am opposed to making your own fondant but if you are trying to get a red fire truck, you will have to use a lot of coloring.


This jar was brand new when I started and I use 2/3 of it. Like I said a lot of coloring.

The back half wrapped. For the silver pieces I used Wilton's Silver Mist Coloring Spray. I purchased mine at Wal-Mart (Ship to Store) but I found it at Hobby Lobby for cheaper if you used a coupon. There was a bit of a learning curve and it took a minute to dry so practice on scrap pieces before you spray your cake. I just sprayed white fondant and it covered pretty well.

Front wrapped.

Time to accessorize.

Wheels and windows on!

I used melted chocolate to glue on my accessories.

Cake table!!!

Now she isn't perfect by any stretch of the imagination, but you had to let a few things go when you're flying solo. I was really disapointed about that front slope, I shouldn't have cut it! And I didn't notice the wheel wells were so high up until I took pictures, oh well!


I love the lights!!! I got them at Hobby Lobby in the wedding department.


Duke was thrilled!!!


Happy birthday sweet boy!!!

While this cake wasn't very difficult (because I had amazing instructions to follow) it was pretty detailed. I think it would have come out cleaner if I would have had an extra set of hands and made most of it out of Krispies but for my first solo attempt I am pretty pleased. Duke loved it ad that is really all that matters!!!

No comments:
Post a Comment